
How to Clean a Dryer at Home: A Complete Step-by-Step Guide
Keeping your dryer clean is essential for maintaining its efficiency, preventing fire hazards, and extending its lifespan. Lint buildup, detergent residue, and debris can reduce performance and even pose safety risks. In this guide, we’ll walk you through a simple yet thorough process to clean your dryer at home, ensuring it runs smoothly and safely.
Why Cleaning Your Dryer is Important
A clogged dryer doesn’t just take longer to dry clothes—it also consumes more energy and increases the risk of overheating. Lint is highly flammable, and if it accumulates in the vent or drum, it can lead to dangerous fires. Regular cleaning improves airflow, reduces drying time, and keeps your appliance in top condition.
How to Clean a Dryer at Home: A Complete Step-by-Step Guide
How to Clean a Dryer at Home: A Complete Step-by-Step Guide
Step 1: Unplug the Dryer and Gather Supplies
Before starting, always unplug the dryer to avoid electrical hazards. Gas dryers should also be disconnected from the gas line if possible. Gather the following supplies:
- A vacuum cleaner with a hose attachment
- A soft brush or microfiber cloth
- A lint brush or old toothbrush
- Mild detergent or vinegar solution
- A screwdriver (if needed for vent access)
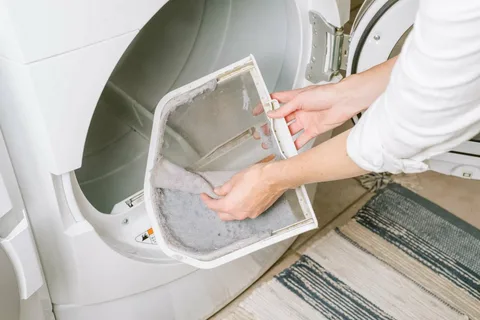
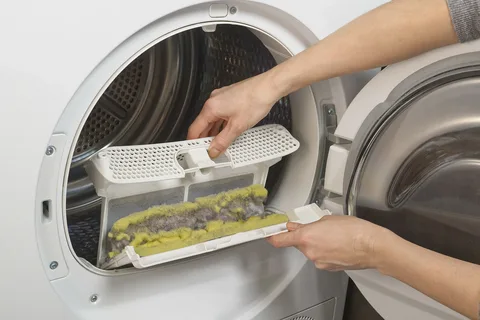
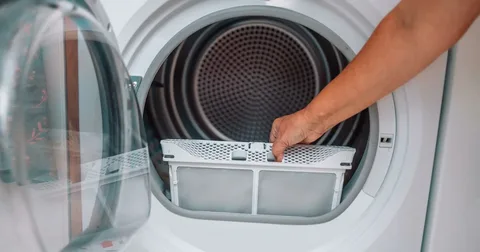
Step 2: Remove Lint from the Lint Trap
The lint trap collects fibers from your clothes after each cycle. To clean it:
- Pull out the lint screen from its slot (usually inside the dryer door).
- Use your fingers to peel off the lint.
- Wash the screen with warm, soapy water to remove residue.
- Let it dry completely before reinserting it.
For stubborn buildup, a soft brush can help scrub away stuck-on lint.
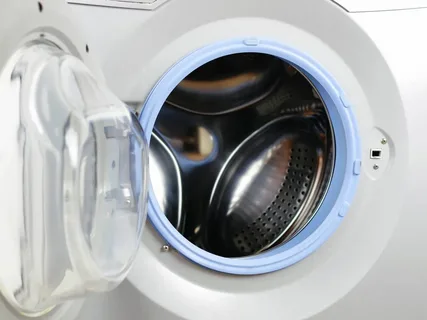
Step 3: Clean the Dryer Drum
Over time, detergent residue, fabric softener, and lint can stick to the drum, causing odors and stains. Here’s how to clean it:
- Wipe the drum with a damp microfiber cloth.
- For deeper cleaning, mix equal parts water and vinegar, then scrub the interior.
- For tough stains, use a mild detergent and warm water.
- Leave the dryer door open to air dry completely.
Avoid harsh chemicals, as they can damage the drum’s surface.
Step 4: Clear the Vent and Duct System
A clogged vent is a leading cause of dryer fires. Follow these steps to clean it:
- Disconnect the dryer from the wall and pull it out carefully.
- Detach the vent hose from the back of the dryer.
- Use a vacuum hose to suck out lint from the vent opening.
- For deeper cleaning, insert a vent brush or flexible rod to dislodge trapped debris.
- Reattach the hose securely, ensuring no gaps where lint can escape.
If your vent leads outside, check the exterior vent cover and remove any blockages like bird nests or leaves.
Step 5: Clean the Dryer’s Interior and Motor Area
Lint can accumulate inside the dryer cabinet, near the motor and blower. For safety, refer to your user manual before opening the back panel. If comfortable:
- Remove the back panel with a screwdriver.
- Use a vacuum to clean lint around the motor and internal components.
- Gently brush away stubborn debris with a soft brush.
- Reassemble the panel securely.
Step 6: Maintain Regular Cleaning Habits
To keep your dryer running efficiently:
- Clean the lint trap after every load.
- Inspect the vent hose every few months.
- Schedule a professional vent cleaning annually.
- Avoid overloading the dryer to reduce lint buildup.
Final Thoughts About Best washing machine repair technician in Riyadh
A clean dryer not only works better but also reduces energy bills and fire risks. By following these steps regularly, you’ll ensure your appliance lasts longer and operates safely. Make dryer maintenance a part of your home care routine, and enjoy faster, more efficient drying with peace of mind.
By implementing these easy cleaning techniques, your dryer will remain in excellent condition, keeping your laundry routine hassle-free. Stay proactive with maintenance, and your dryer will thank you with years of reliable service!
How to Clean a Dryer at Home: A Complete Step-by-Step Guide
How to Clean a Dryer at Home: A Complete Step-by-Step Guide